Cooking the perfect steak is a distinctly American achievement. It’s a rite of passage we believe every one must pass in order to fully live up to their potential. Read on for a step-by-step guide for preparing your next steak.
The first step to cooking the perfect steak is choosing the perfect steak. This is something you can’t rush. Become the reason why the line stacks up at the meat counter, and why the manager has to ask you to hurry the hell up. After all, you’ve got a lot of variables to consider.
Marbling
Marbling is the white fat running through the flesh of the steak, which is a way of saying marbling is the first indicator that a steak possibly came from a cow more important than you. Or me. Seriously, there are cows on this planet that are so special, they deserve their own religions. The average piece of steak comes from a cow with a fat cap on the outside of the muscle. Wagyu beef, on the other hand, comes from a breed of cattle that metabolizes fat internally, so the marbling is distributed within the muscle. Our friends at The Meatery specialize in this kind of majestically good beef.

In any case, the presence of marbling is what governs the flavor of your steak. The more marbling streaking through the steak, the more flavorful it’ll be when you prepare it, since the marbling will melt into the meat as it cooks.
Grade

This is the grade the US Department of Agriculture gives your steak. The grades are, in order of highest to lowest quality, Prime, Choice, Select, and Standard. Now, don’t think of Standard as a bad steak. This is America. We don’t make bad steaks in America, and you can still enjoy a delicious meal with a Standard steak. But if you’re looking for the best, go a notch or two up in grade quality. The higher the grade … the higher the marbling … the better the flavor.
Thickness
Let’s just agree on this now: Unless you’re cooking carne asada, thin steaks suck. Not only are they an unsatisfying meal, but they’re also notoriously difficult to cook. You leave a thin steak on the grill for even 30 seconds too long and you’ll overcook that sucker into oblivion. When you choose your next steak, make sure it’s at least an inch thick. The thickness of your steak gives you more control over its temperature, and reduces the risk of ruining it and therefore your relationship to the people you intend to feed it to.
Let’s get to work.
Once you’ve picked the perfect steak, now comes the fun part. It’s time to cook. First, pat the steaks dry with a paper towel. You want to get rid of any excess moisture, or else the meat won’t properly brown.
Next, season them up generously. We recommend Madison Pebeyre Truffle Salt, also from our meat-loving pals at The Meatery. If you like, you can add pepper for a little touch of heat to your steak, but this is a matter of preference. Some steak lovers season with nothing but salt. The seasoning you choose is essential for giving your steaks that perfect delicious crust.

As for the pan, we recommend a cast-iron pan over a gas stove, but use whatever pan you’re most comfortable with. Heat your pan over medium-high heat, then add the oil. I prefer avocado oil since it has a very high melting point. Once the oil shimmers and moves around fluidly in the pan, it’s time to add the steaks.
Using a pair of tongs, lay the steaks into the pan, away from you to avoid splashing hot oil on yourself. If you skipped this sentence and you splashed hot oil on yourself, ask yourself “why” in a very existential sort of way. Your steaks should sizzle when they hit the pan. If they didn’t, your pan wasn’t hot enough. Something to think about for next time.
This next step is very important: DON’T TOUCH IT. Seriously, just leave the steak there. Don’t poke it, prod it, or fiddle with it. Allowing your steak to develop that beautiful golden grown sear is the holiest, most sacred part of cooking it. Let it sit there for three uninterrupted minutes while you just sit there and pray to whatever god you believe in for the privilege of being able to partake in the alchemy of meat-making.

Ok. Now you can flip it. Give the other side another three minutes. With a minute or two left to go, add a tablespoon of butter and if you’re feeling fancy, a sprig of thyme, rosemary, or both. Take a spoon and gently baste the steaks with that buttery, meaty, herby goodness.
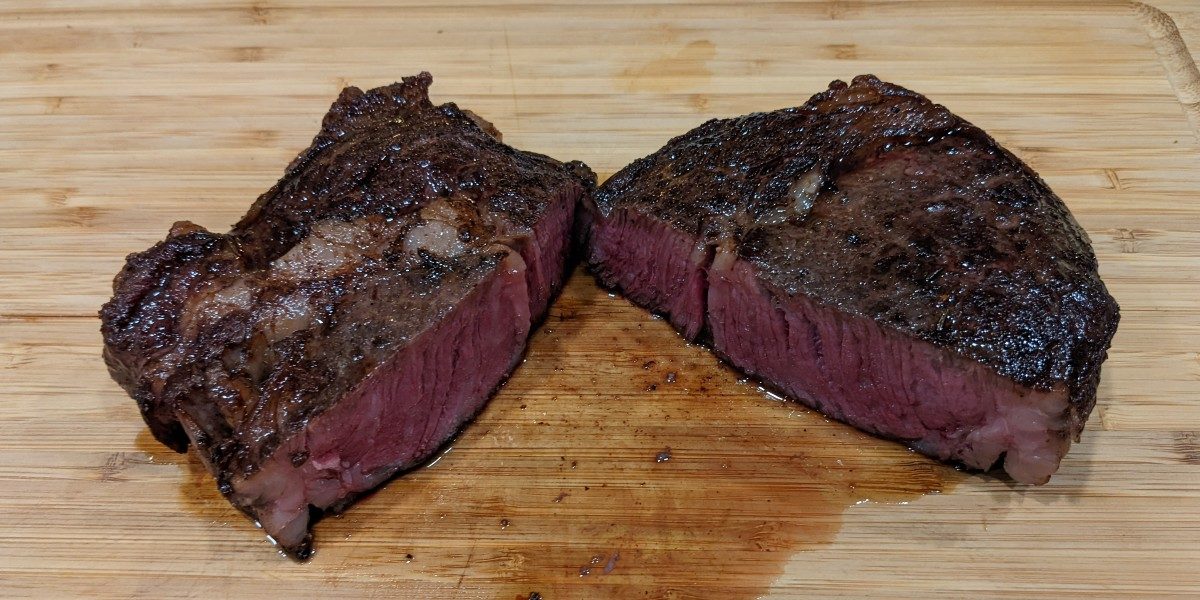
Temperature check time. Remove the steaks from the pan and place them on a cutting board. Use a meat thermometer and inspect the meat. You’re aiming for just a few degrees under your preferred temperature. What is your preferred temperature, you ask? The answer is a medium rare 135 degrees. Any other temperature, and you’re just wrong. A well-done steak isn’t a steak, it’s a tragedy.
Anyway, the reason why you’re aiming for a few degrees under 135 degrees is because the steaks will finish cooking as they rest. Loosely tent your steaks with tin foil—don’t wrap them tightly—creating an exalted meat temple in which they will arrive at the perfect temperature.

That’s it. As the steaks worship in their little aluminum foil meat temples, dish out the rest of your meal. You did make veggies right?
Congratulations, you just made the perfect steak. You deserve every glorious bite you worked so hard for. Happy eating, y’all.
